Short HowTo to install and configure of a Git Server on a Synology NAS with DSM 6.2.
For the normal work no SSH login or a admin account is needed!
1. Installing Git Server
- Got to
Package Centeron Synology and install Git Server - Enable SSH Service from Control Panel -> Terminal & SNMP
- Allow users to use Git from Main Menue -> Git Server
- Create a new Shared Folder git and authorize the desired users with write permissions, that folder will contains all your Git’s
2. Create a empty Git project template
- Login to your Synology using SSH
- Create a template
cd /volume1/git
git init --bare --shared _template.git
3.1 Start a new empty project on your Computer
- Copy the Folder
_template.gitand name it for your project (Here in the example newproject.git)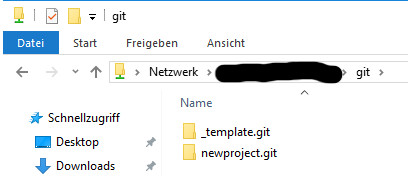
- Clone the project to your computer
git clone ssh://<USERNAME>@<SYNOLOGYNAME>/volume1/git/newproject.git
3.2 Use a existing project and push it to the Synology
- Copy the Folder
_template.gitand name it for your project (Here in the example localproject.git) - Initialize the project on your computer and push it to the Synology
git init
git remote add origin ssh://<USERNAME>@<SYNOLOGYNAME>/volume1/git/localproject.git
git add .
git commit -m "first"
git push -u origin master